Wednesday 31 December 2008

new year's eve

New Year's Eve, chez D... Just our pace: lounging on the sofa, watching Curse of the Were-Rabbit on DVD, and playing with Photo Booth on my MacBook.


Photo 32


Photo 46


Photo 45


Photo 39


Photo 47


Photo 34


Photo 33


We're ready to welcome 2009 - as long as we don't have to venture outside into the freezing weather! Happy New Year!

Sunday 28 December 2008

winter walk

s's parents are visiting from yorkshire. we took them to putney bridge for a shorter-than-planned walk by the thames this afternoon. with the weather hovering just above 0ÂșC, even the hardy northerners were cold!


smile... say 'freeze'!


IMG_5706


IMG_5708

Saturday 27 December 2008

festive goodies

IMG_5701


and


IMG_5697
dark chocolate fudge

Thursday 25 December 2008

merry xmas!

IMG_5696


... a few pix from our xmas walk ...


IMG_5695


IMG_5689


hope santa brought you something good!

Monday 22 December 2008

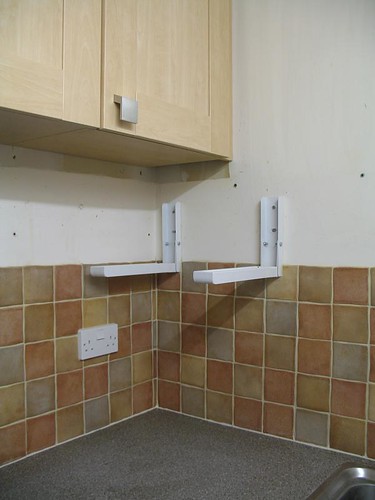
kitchen: painted

we painted the kitchen yesterday.


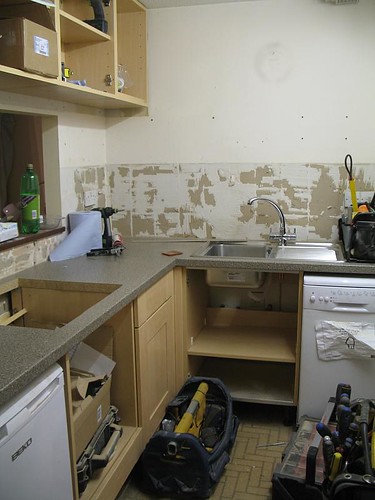
let's remind ourselves what the wall above the sink used to look like:


IMG_5398


permanent stain from the clock. holes from screws that used to hold the spice and towel racks.


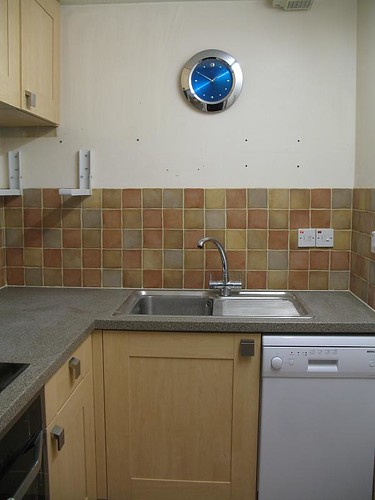
and see how much cleaner it is now:


IMG_5687


OK, it's not dramatic but it's light and clean. we're closing in on the last part: accessorising! IKEA here we come...

Sunday 21 December 2008

xmas tree

we put up our xmas tree yesterday...


IMG_5685


IMG_5674


...and we're ready for santa!

Saturday 20 December 2008

DIY xmas tree card tutorial

I found these great retro-looking cards this year and they inspired me to get a little creative.


IMG_5646


DIY: Decorate-It-Yourself!


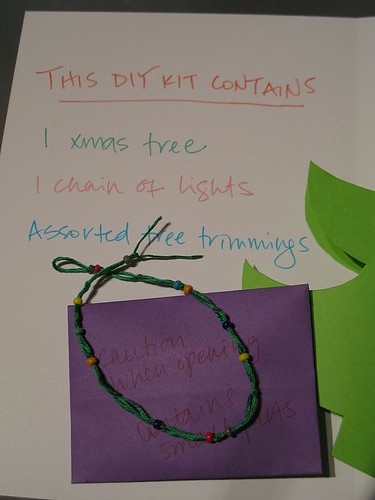
Inside each card, I added a kit:


IMG_5643


What you'll need:
  • Colored paper
  • Scissors
  • Gluestick
  • Hole punch
  • Embroidery thread
  • Beads
  • Craft glue
  • Safety pin
  • Colored pens


To make the tree: fold one piece of paper in half. Lightly trace your tree onto the paper. Cut it out. Erase any remaining lines.


IMG_5636


The envelope/present containing the tree trimmings was my version of easy origami. Fold a piece of paper in half diagonally, and again in half diagonally the other way to make a square. Cut off any extra paper if necessary. Hold the paper so that it looks like a diamond. Fold two corners so that they touch in the middle. Fold the third corner up just over the mid-point. Crease it back so that it looks like an envelope. Use gluestick to glue the sides together.


Make the tree trimmings. (Brief aside: in the States, we call them ornaments. Here in the UK, they call them baubles. I decided on the country-non-specific 'trimmings'.) Punch holes in different colored paper to make circular balls. Cut a yellow star. Add others as desired: stickers, other paper cuttings. Enclose in the envelope.


IMG_5638


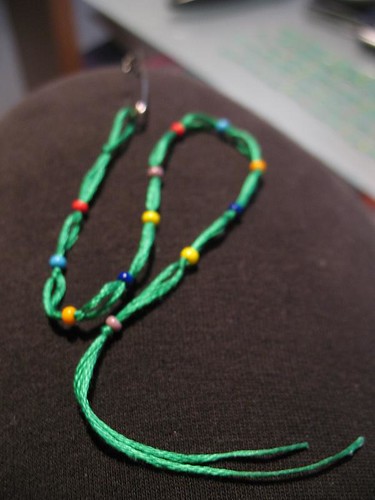
The 'lights' are made with embroidery thread and colored beads.


IMG_5629


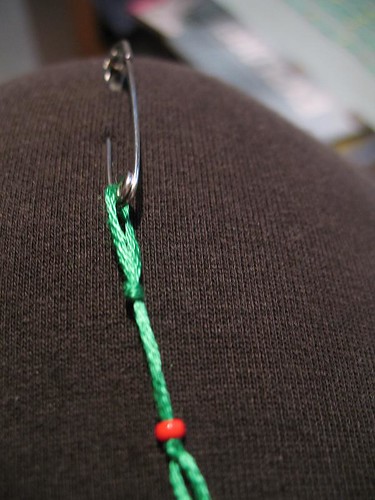
Use a piece of embroidery thread that will be long enough to drape around your paper tree. Mine was about 10 in/25 cm long, doubled. Fold the thread in half and make a loop in the middle. Use a safety pin to secure it to something (jeans work well.) Lightly dab each end with craft glue to make them stiff. This will help you string the beads onto the thread.


IMG_5626


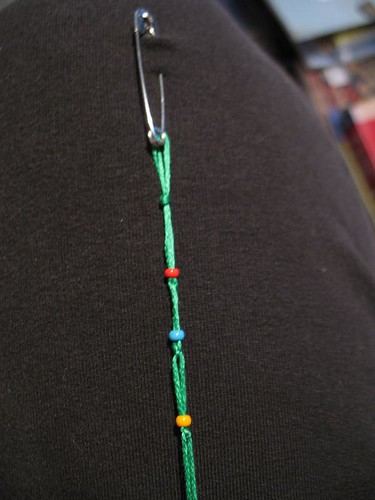
String your first bead onto both sides of the thread. Tie a knot below the bead to keep it in place. Repeat. Leave about 1/2 in / 1 cm between the beads. Finish with a knot.


IMG_5631


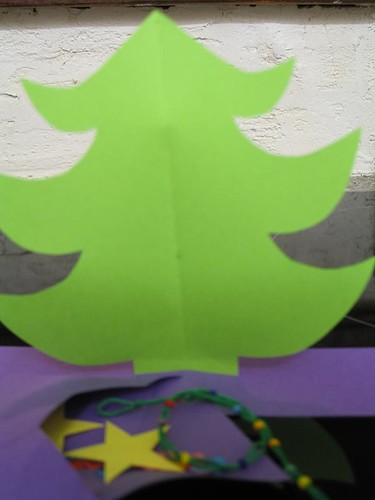
Assemble your kit.


IMG_5639


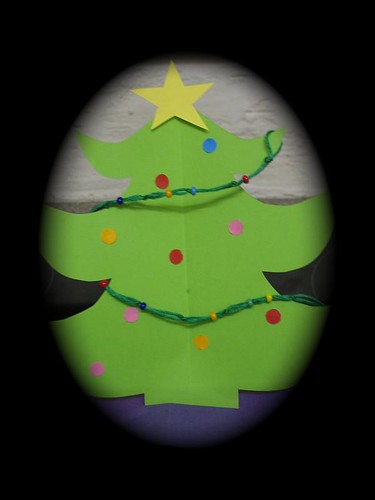
Your recipient can decorate their own festive tree!


IMG_5640


Note: I used very small parts which might not be ideal for children. You can use age-appropriate materials if you want to try this with the youngsters in your life.


Merry xmas!

Thursday 18 December 2008

kitchen: tiles

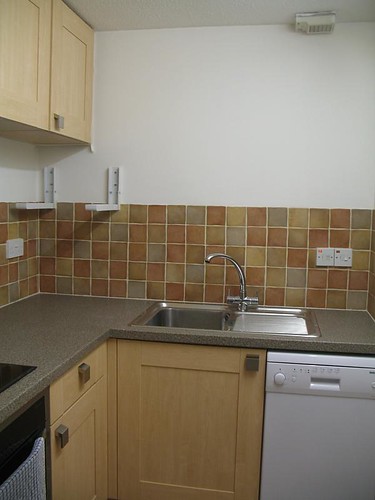
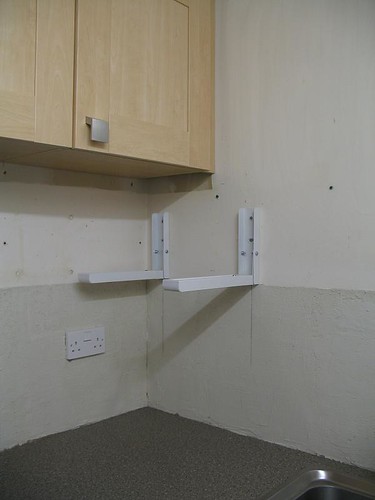
It took some time to get to this point. The tiler was supposed to come last Friday, but had car trouble. I'm glad to say that it was worth the wait - and well worth hiring a professional instead of attempting to do it ourselves!


8:57 AM
IMG_5650


10:19 AM
IMG_5652


1:50 PM
IMG_5663


IMG_5667


IMG_5665


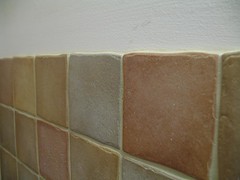
I'm very pleased with the details. There is no way we could have done this so well - or so fast.

IMG_5668


IMG_5669

Click on the photos to see bigger versions on flickr.


So far, so good! Right?


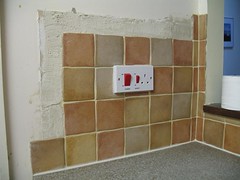
Unfortunately, this story does not have a completely happy ending...yet.

IMG_5666


We were 9 tiles short! D'OH!


The tile shop does not have them in stock, but they can do a special (small) order for us. The tiler has offered to come back in the new year and finish the job. That works for me!

IMG_5661


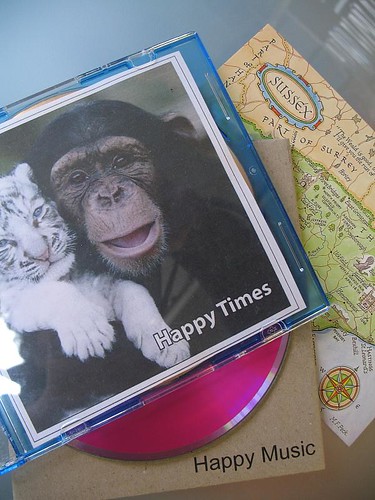
Meanwhile, I have been listening to my happy music. A few weeks ago, soozs suggested a happy CD swap and I happily joined in. I sent CDs to 5 people scattered across Australia and England. And I have been enjoying all the mail I have received in return. In fact, while writing this post, I got Melissa's CD and I can already tell I'll like it. The tilers and I were singing along to music from Dee, Dani and Wibbo. It's interesting to see what kind of music makes different people happy - I got two versions of one song (Teardrop, by Newton Faulkner and Jose Gonzalez), some Irish jigs, some mellow songs, some grunge, some Spanish guitar, Stevie Wonder, Judy Garland, The Beatles.


If you want to see what I included on my happy CD, I made an iMix: click here to open iTunes.


Thanks, Suzie, for organising the swap. I'm feeling the happiness!

Saturday 13 December 2008

veggie casserole

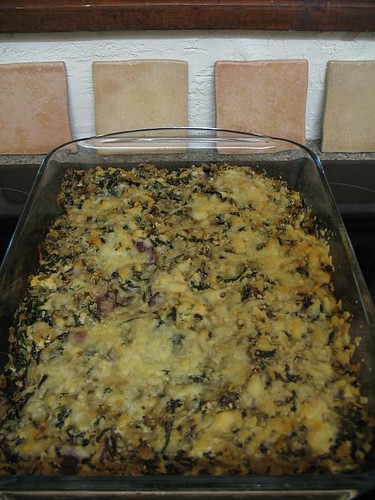
101 cookbooks posted this mushroom casserole recipe a few weeks ago and i decided to try it the other night.


IMG_5625


i made enough changes that i'm not sure if it's fair to consider it the same dish. call it 'inspired by' instead. i added aubergine and courgette (eggplant and zucchini), as well as some fresh spinach. i used tofu instead of cottage cheese, and greek yogurt instead of sour cream. it tasted great - and was probably the healthiest meal i have ever made - but it wasn't very creamy. i think i might try making risotto next time instead, but keep the fresh vegetables. the mushrooms made me especially happy.


in the back of the photo, you can see our tiles. you might notice that they aren't attached to the wall yet. the tiler was supposed to come yesterday but had car trouble. we're hoping he comes as scheduled next thursday!