
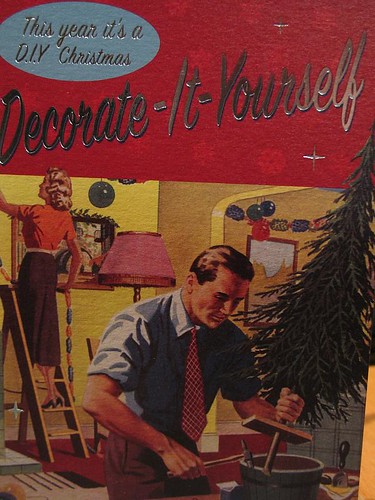
DIY: Decorate-It-Yourself!
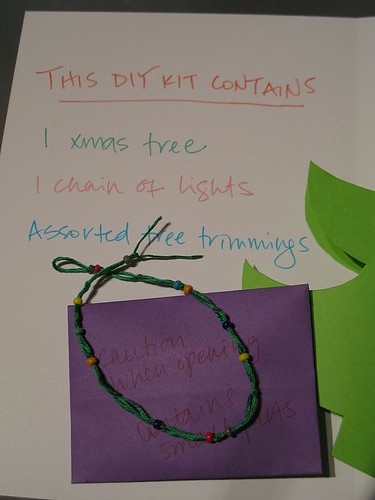
Inside each card, I added a kit:
What you'll need:
- Colored paper
- Scissors
- Gluestick
- Hole punch
- Embroidery thread
- Beads
- Craft glue
- Safety pin
- Colored pens
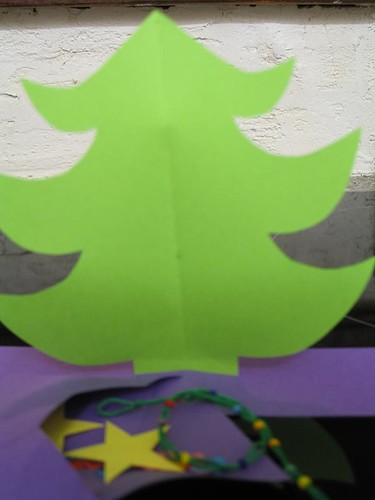
To make the tree: fold one piece of paper in half. Lightly trace your tree onto the paper. Cut it out. Erase any remaining lines.
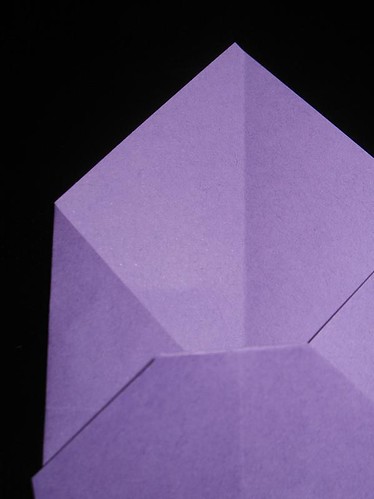
The envelope/present containing the tree trimmings was my version of easy origami. Fold a piece of paper in half diagonally, and again in half diagonally the other way to make a square. Cut off any extra paper if necessary. Hold the paper so that it looks like a diamond. Fold two corners so that they touch in the middle. Fold the third corner up just over the mid-point. Crease it back so that it looks like an envelope. Use gluestick to glue the sides together.
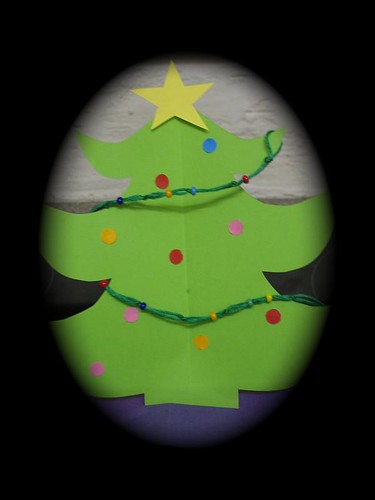
Make the tree trimmings. (Brief aside: in the States, we call them ornaments. Here in the UK, they call them baubles. I decided on the country-non-specific 'trimmings'.) Punch holes in different colored paper to make circular balls. Cut a yellow star. Add others as desired: stickers, other paper cuttings. Enclose in the envelope.

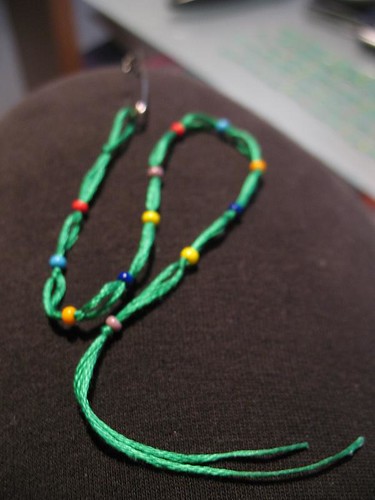
The 'lights' are made with embroidery thread and colored beads.
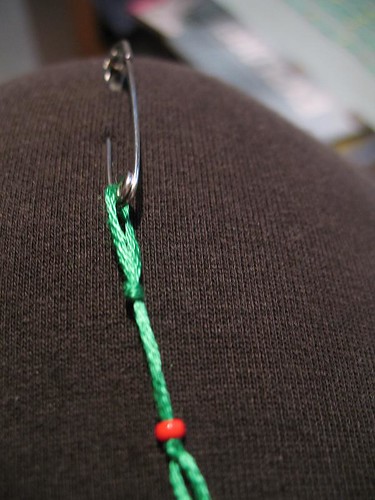
Use a piece of embroidery thread that will be long enough to drape around your paper tree. Mine was about 10 in/25 cm long, doubled. Fold the thread in half and make a loop in the middle. Use a safety pin to secure it to something (jeans work well.) Lightly dab each end with craft glue to make them stiff. This will help you string the beads onto the thread.
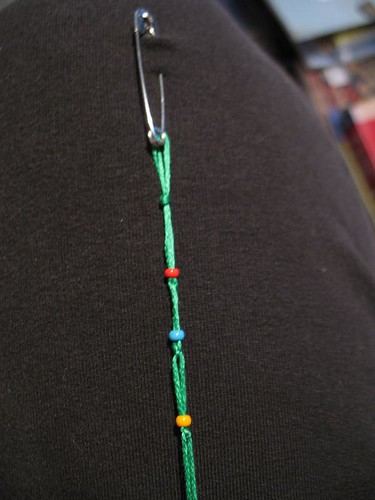
String your first bead onto both sides of the thread. Tie a knot below the bead to keep it in place. Repeat. Leave about 1/2 in / 1 cm between the beads. Finish with a knot.
Assemble your kit.
Your recipient can decorate their own festive tree!
Note: I used very small parts which might not be ideal for children. You can use age-appropriate materials if you want to try this with the youngsters in your life.
Merry xmas!
No comments:
Post a Comment