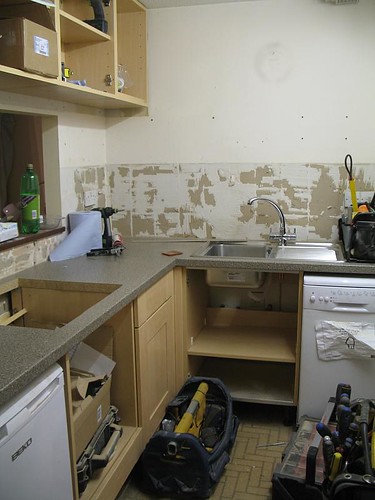
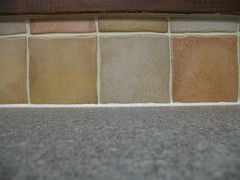
It took some time to get to this point. The tiler was supposed to come last Friday, but had car trouble. I'm glad to say that it was worth the wait - and well worth hiring a professional instead of attempting to do it ourselves!
8:57 AM

10:19 AM

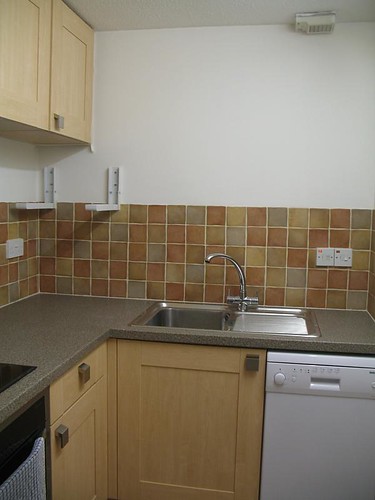
1:50 PM
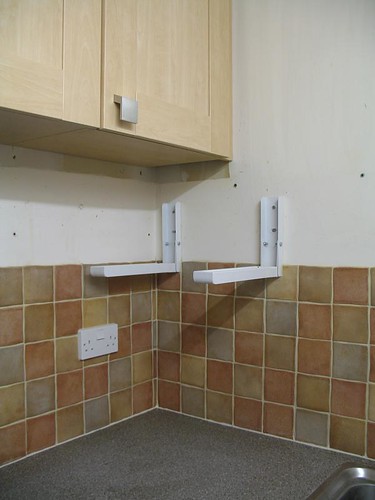
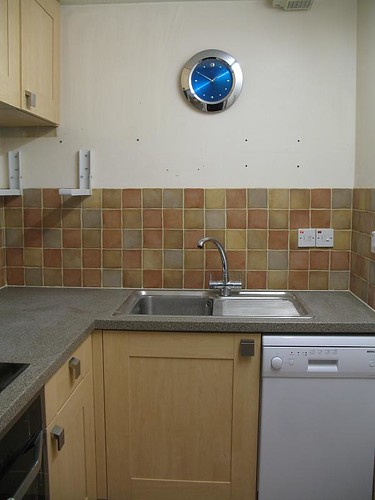
I'm very pleased with the details. There is no way we could have done this so well - or so fast.
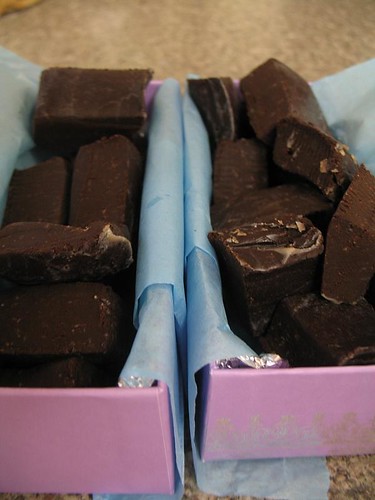
Click on the photos to see bigger versions on flickr.
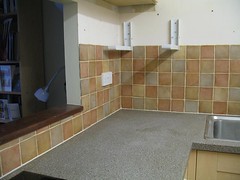
So far, so good! Right?
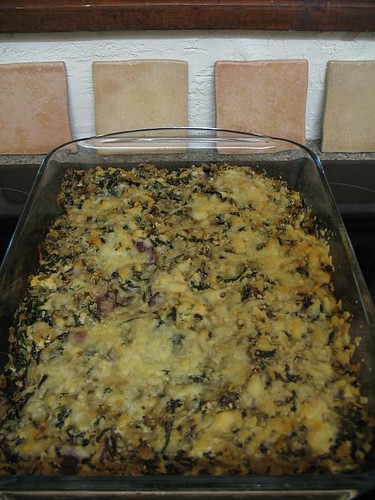
Unfortunately, this story does not have a completely happy ending...yet.
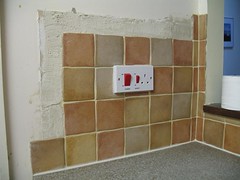
We were 9 tiles short! D'OH!
The tile shop does not have them in stock, but they can do a special (small) order for us. The tiler has offered to come back in the new year and finish the job. That works for me!
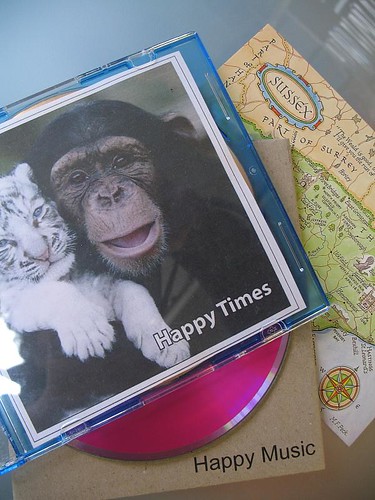
Meanwhile, I have been listening to my happy music. A few weeks ago,
soozs suggested a happy CD swap and I happily joined in. I sent CDs to 5 people scattered across Australia and England. And I have been enjoying all the mail I have received in return. In fact, while writing this post, I got Melissa's CD and I can already tell I'll like it. The tilers and I were singing along to music from
Dee, Dani and
Wibbo. It's interesting to see what kind of music makes different people happy - I got two versions of one song (Teardrop, by Newton Faulkner and Jose Gonzalez), some Irish jigs, some mellow songs, some grunge, some Spanish guitar, Stevie Wonder, Judy Garland, The Beatles.
If you want to see what I included on my happy CD, I made an iMix: click
here to open iTunes.
Thanks, Suzie, for organising the swap. I'm feeling the happiness!